Pages

Tuesday 24 December 2013

Gingerbread Men | Christmas Blog Week Day 5

Hello everybody,
 
So we are finally the end of Christmas blog week. This week has been very hectic but I have made some lovely things out of it. I have gingerbread men fornyou today.
 
 
Prep time: 30 minutes approx.
Cook time: 10-12 minutes.
Serves: Dependent on the cutter size. 
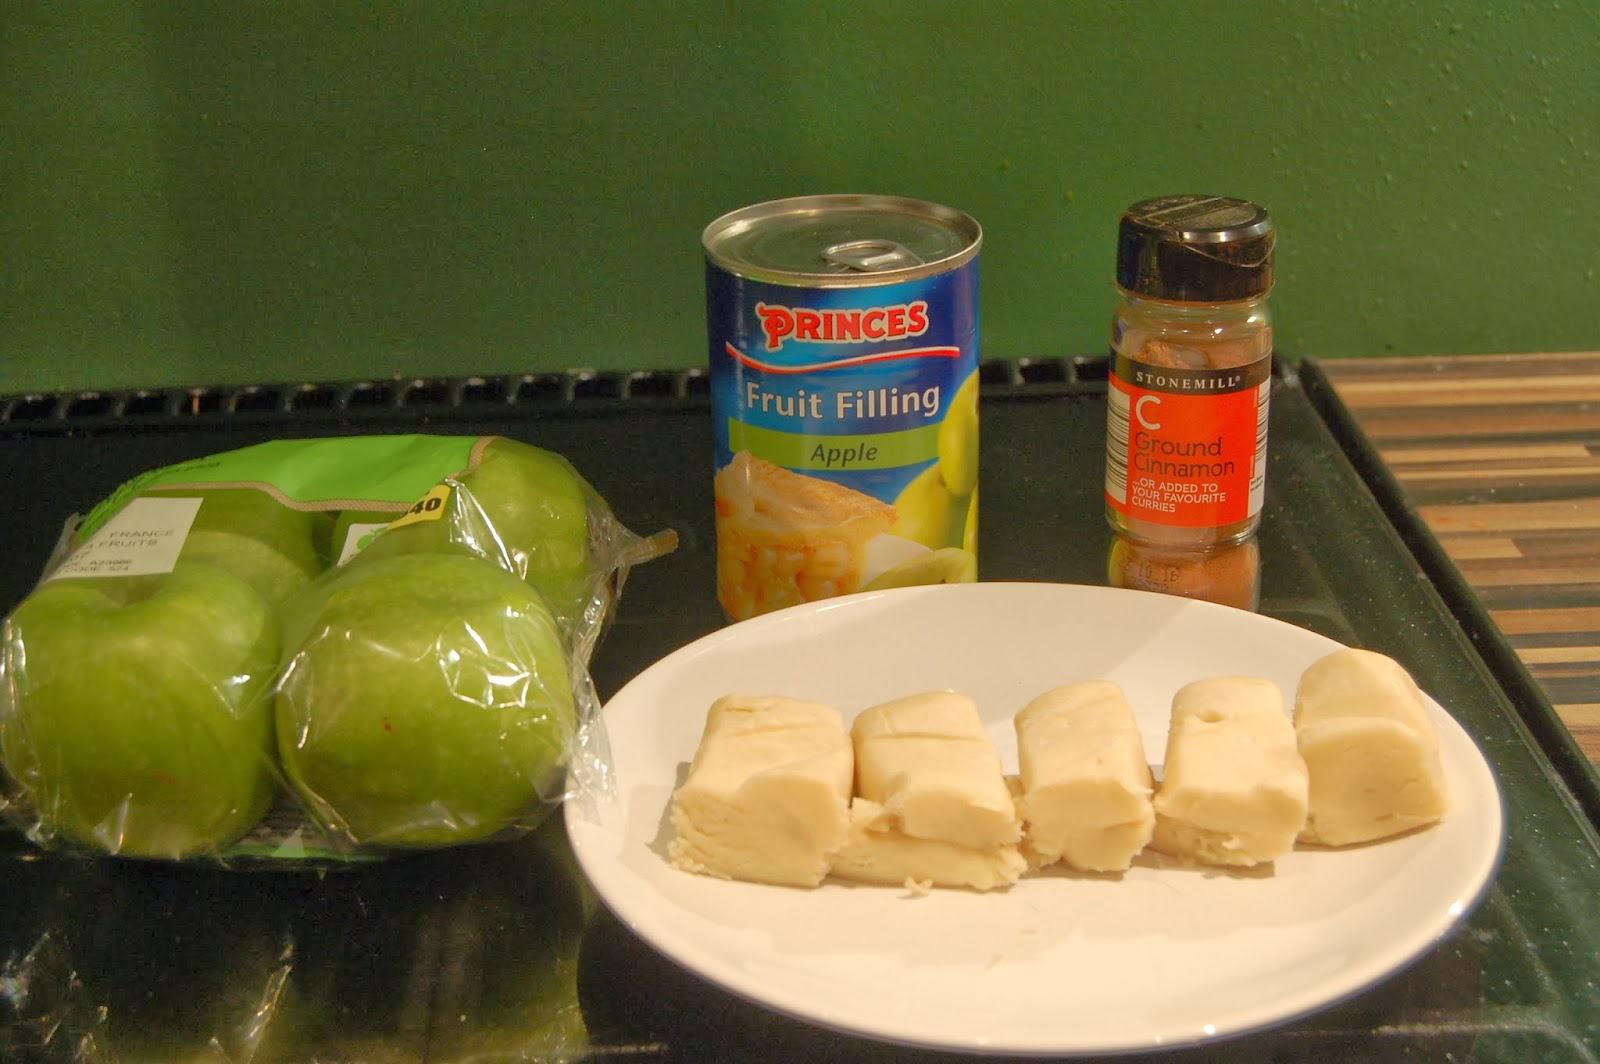


Ingredients :
• 350g plain flour
• 1-2 teaspoon ground ginger
• 1 teaspoon bicarbonate of soda
• 100g butter
• 175g light brown sugar
• 1 egg
• 4 tablespoon golden syrup
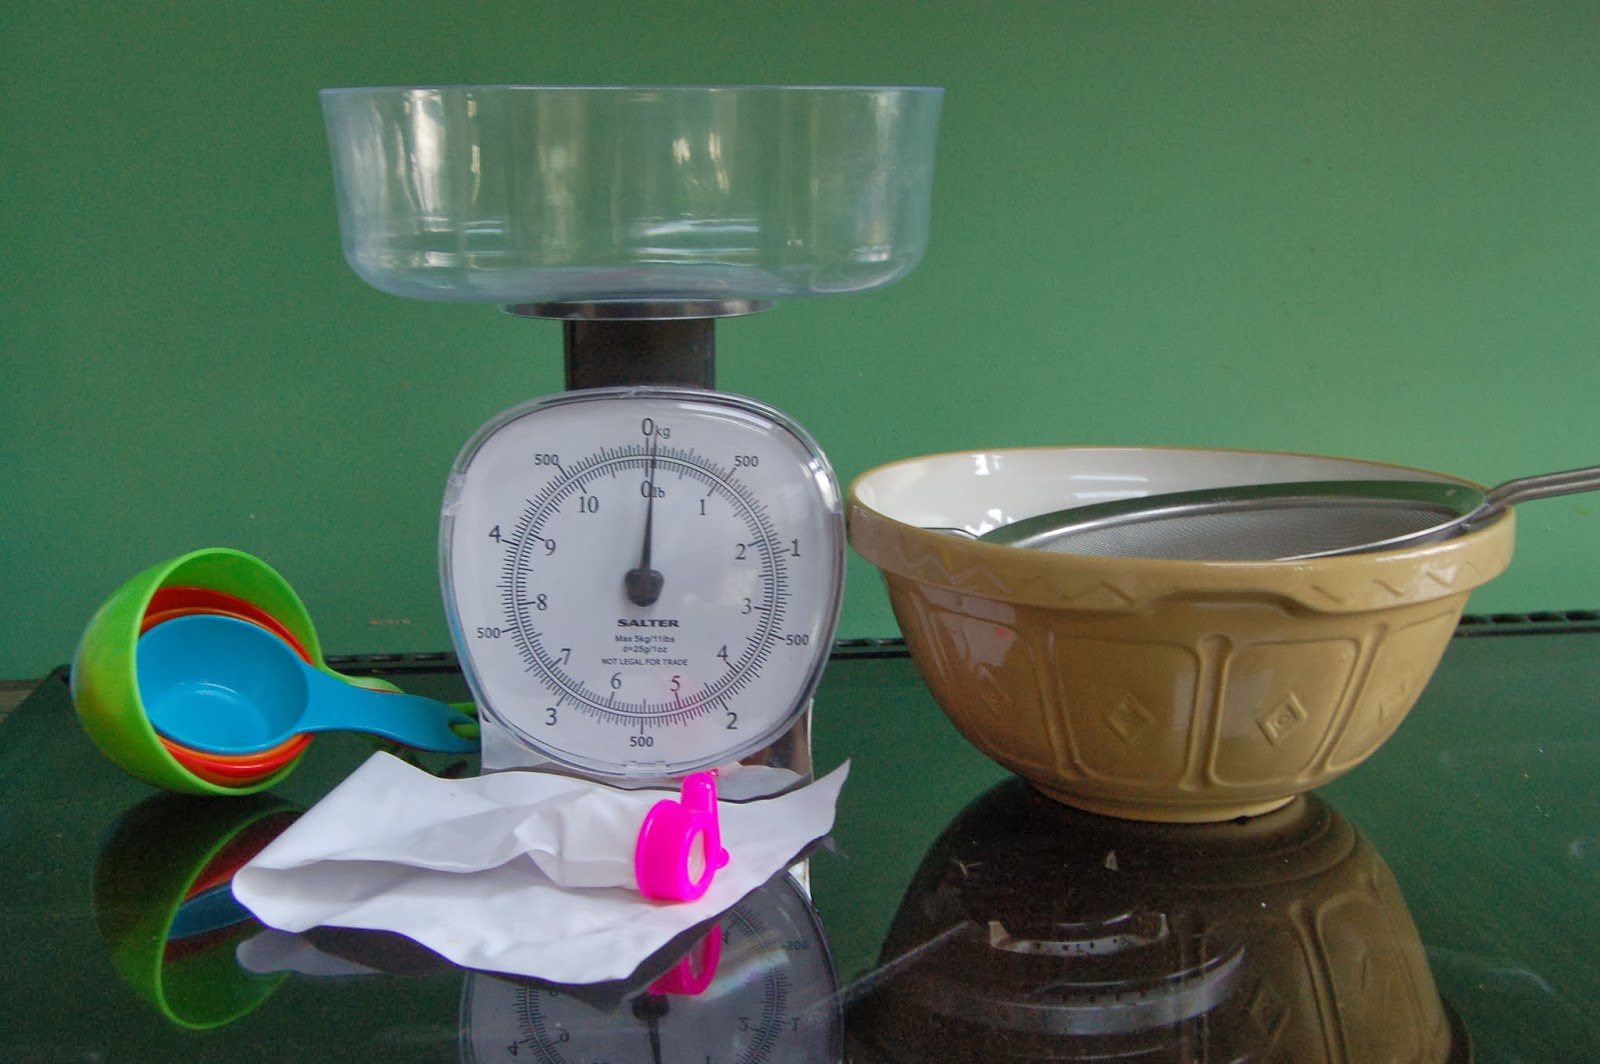


Equipment :
• Mixing bowl
• Wooden spoon
• Teaspoon
• Tablespoon
• Baking tray
• Rolling pin


Method :
 
1) Put the flour,  ginger and soda into a bowl.


2) Add the butter and rub together
 
3) Add sugar and stir in the syrup and egg making a firm dough. Pre heat oven.


4) Roll out dough 5mm thick and cut out your gingerbread men.


5) Line a baking tray and place your gingerbread men on it. Be sure to give them space to expand.


6) Bake in the oven at 19OC/ Gas mark 5 for 10-12 minutes with regular checks. Don't open the oven as it will prevent them from rising.
 
 
7) Wait for a few minutes for them to firm up, then leave them to cool.
 
Enjoy!
 
 
Hope you have really enjoyed Christmas blog week. It's a bittersweet end but it has been a lot of fun. I wish you all a wonderful Christmas, I should see you
before new year but if not, have a lovely new year.
 
Christmas Countdown:
1 MORE SLEEP!!!!
 
Aoife

Monday 23 December 2013

Cinnamon Cookies | Christmas Blog Week Day 4

Hey everybody,

Wow! How's this for a blog week post full and on time? We're nearing the end of Christmas blog week but we're not quite there yet so today we have Cinnamon Cookies.

Prep time: 20-25 minutes
Cook time: 8-10 minutes
Serves:  -


Ingredients:
  • 1 cup of butter
  • 1 1/2 cup of sugar
  • 1 egg
  • 1 1/2 tablespoons syrup/molasses
  • 2 1/4 cups of all purpose flour
  • 1 1/8 tablespoons of bicarbonate of soda
  • 1 tablespoon ground cinnamon


Equipment:
  • Mixing bowl
  • Wooden spoon
  • Measuring cups
  • Greaseproof paper (for baking tray)


Method:

1) Cream together butter and sugar in mixing bowl. I have used brown sugar for my cookies which will make them turn out darker but white sugar can be used too.


2) Mix in your egg and syrup, stirring well.


3) Mix in bicarbonate of soda, flour and cinnamon.


4) Chill in the fridge for 15 minutes. This is a good time to pre heat the oven.


5) Take your baking tray and line it with greaseproof paper.


6) After the 15 minutes, drop teaspoonfuls of your cookie dough onto your ungreased paper. You can see at the back there, I had a bit of a dilemma when three cookies became one...


7) Bake in the oven for 8-10 minutes. Mine turned out like this, a few slightly burned edges but no harm done. Mine are quite dark because I used brown sugar.


Hope you have enjoyed today's, I have found this one the most challenging, I think I misread my recipe during the process so I am going to give these another go another time.
Christmas is so close now. We have one more day of Christmas blog week which means...
 
Christmas countdown:
 
2 DAYS TO GO
 
Excited, excited, excited!!
 
Aoife
 

Mini Shortcrust Mince Pies | Christmas Blog Week Day 3

Hello everybody,

So today I have made Mince Pies for Day 3 and I'm going to share with you how I made them.

Images tomorrow when I get onto a computer. Sincere apologies...
Prep time: 30 minutes
Cook time: 25-30 minutes
Serves: Makes 8 (5 shown)


Ingredients:
  • Shortcrust pastry
  • Mincemeat
  • Plain flour
  • 1 egg (for glazing)


Equipment:
  • Cake tin/ bun tray
  • Rolling pin
  • Teaspoon
  • Pastry brush
  • Fork


Method

1) Clean your work surface and sprinkle some plain flour down also ensuring you rub some on your rolling pin. Roll out your pastry until it is approx. the thickness of a pound coin.

2) Cut your pastry into squares roughly as shown below. Remember to leave some aside for the pie lids.


3) Grease your bun tray but rubbing some butter on it. Then, take a square of pastry,  squash it into a ball and place it in the bun tray.


4) This step is really hard to explain. You have to squish the ball around the sides of the hole to make a dip on the middle. 


5) Take your teaspoon and gradually fill each pie with mincemeat, try to flatten it down so it is not heaped.


6) Take the pastry you kept aside for the lid and roll it out so it is slightly thinner than you rolled the pies. Find something that is just a bit bigger in width than your pies to cut out lids. I used this lid of a tin. Cut out the required amount for however many pies you have made.


7) Place your pie tops over each pie like so. 


8) Take your fork and press down the edges to give the look as shown below.


9) Crack your egg into a mug and with your pastry brush,  glaze the tops of the pies.


10) Place your bun tin in the oven for around 25-30 minutes. Be cautious when removing them and they should look something like this.


Enjoy! Thank You for reading Day 3 of Christmas blog week. Hope you have enjoyed it, see you tomorrow.

Christmas countdown:

3 DAYS TO GO

Aoife

Saturday 21 December 2013

Baked Apples Lattice | Christmas Blog Week Day 2

Hey everyone!
 
So believe it or not, I've had more technical problem which has cause this to be posted a bit later than I would have liked. Without going on about it,  my computer has ben put away to make some room for Christmas and now my laptop wont switch on.  I have resulted to writing on my tablet until I get back on top of the technology in my house.
Today I have made Baked Apple Lattice's and I'm going to share them with you.
 
Prep time: 15 minutes
Cook time: 20 minutes
Serves: 4


Ingredients:
• 4 Green Granny Smith Apples
• Ground cinnamon (optional)
• Apple fruit filling
• Shortcrust Pastry
• Water
• Egg (for brushing pastry)


Equipment:
• Chopping board
• Tablespoon
• Teaspoon
• Table knife
• Sharp knife
• Bowl
• Cup
• Baking tray (bowl)
• Rolling Pin
• Pastry brush


Method:
1)  Cut off the tops of your apples using a sharp knife.


2) Hollow out the insides of the apples using a spoon. Using a knife to help might be dangerous but if you feel it is better and easier then do so.


3) Preparing your pastry. Sprinkle some plain flour on your work surface and rub some around your rolling pin. My pastry is in blocks as it had been defrosting but all that needs to be done is to grab all the blocks together and squash into a ball.
Using your rolling pin,  roll out your pastry approx. the thickness of a 50p - about 2/3mm.


4) Cut strips of the same width down your rolled pastry and cut horizontally in half. I used 3 across, 3 down for each lattice therefore I needed 24 pastry strips.


5) Take your Apple fruit filling and if you want to add cinnamon to it, now is the time. I made mine, two with cinnamon and two without. To add cinnamon to all or some of your filling, put a few tablespoons full into a bowl, add 1 teaspoon of cinnamon and mix.


6) Spoon your filling into your hollowed out apples up to the brim, don't go over. Now is a good time to pre heat your oven to 160-180C/ gas mark 4.


7) Take each pastry strip and gradually weave your lattice - over and under- on top of the apple.


8) Trim the edges if necessary if the pastry is too long over the sides.


9) Crack an egg into a cup and use your pastry brush to glaze the lattice. If you used cinnamon in your filling you can shake some cinnamon onto the top of the lattice at this point.
 
10) Take your baking tray preferably one that is quite deep and make a water bath to sit your apples in.
 
 
11) Carefully place them in the oven and leave to bake for 20-25 minutes.


12) When you remove from the oven, they will be extremely hot so please be cautious of burns and injuries.
 
13) When you think they are cool enough to eat, dig in and enjoy.
 
 
Hope you enjoy if you make these and hopefully you have enjoyed reading this post today, you may have noticed a slight layout change from yesterday's post, I prefer it this way so I'm happy with this. The technical issues however are really beginning to irritate me as I hate letting you down so I can't imagine how annoying it must be for you all. I'm doing my best and will resolve this asap.

Christmas countdown:
4 DAYS TO GO
 
Aoife

Christmas Tree Cupcakes | Christmas Blog Week Day 1

Hey everyone,

So despite technical difficulties, I am still pushing on and I'm not giving up.

I have Christmas Tree Cupcakes to show you today for the first day of Christmas Blog Week. I was quite impressed considering it was my first go at doing something like these, the outcomes have taken off to a good start and it's a bonus that they taste good too.
Enough chitter-chatter let's see how you make them.

Prep time: 30 mins (approx.)
Cook time: 20 mins
Serves: Makes 12

Ingredients:

  • 150g butter
  • 150g caster sugar
  • 3 eggs
  • 150g self-raising flour
  • 1 teaspoon vanilla extract
  • 1 tablespoon milk
For the icing:
  • 200g butter (room temp.)
  • 250g icing sugar
  • 1 teaspoon vanilla extract
  • 1 tablespoon milk
  • Green food colouring

Equipment:
  • Mixing bowl
  • Scales
  • Teaspoon
  • Tablespoon
  • Wooden spoon
  • Sieve
  • Piping bag

Ingredients

Equipment


Method:

1)
Measure out your butter, sugar and flour and beat together your eggs.

2)Preheat oven to 180C/ 160C fan/ Gas 4
 
 
3)
Cream together your butter and sugar until light and fluffy.

Gradually mix in the beaten egg, alternating with the flour to prevent curdling. Stir through the vanilla extract and mix.


4)
Place 12 cases into a cake tin...

and divide mixture between them evenly.

Bake for 15-20 minutes until golden brown (and springy to touch). Afterwards, remove them from the oven and leave to cool.


5) Icing:
Mix the butter in a mixing bowl until it is smooth. I followed the recipe above which used 200g butter, however, I found that the icing became a little too runny so I would recommend you use less, maybe 100g or 150g of butter instead.


6)
Start to sift the icing sugar, stirring regularly.


7)
Add vanilla extract and milk and it should be light and creamy.


8)
Mix your green food colouring into the icing giving an even green colour. Depending on how dark you want your icing trees to be, add more colouring to make them darker.


9)
Decorate how you wish, I have added silver balls to my trees. Leave icing to set for approx. 30 minutes and enjoy.


Hope you have enjoyed today's post and hopefully your Christmas Tree Cupcakes are successful if you decide to give this a go.

See you tomorrow for Christmas blog week Day 2, what will we be making tomorrow?
Christmas Countdown:

5 DAYS TO GO

Aoife